Have you ever wondered how to draw a pearl that looks like it could pop off the page? Trust me, it’s not as tricky as it seems. Drawing a pearl might sound fancy, but with the right techniques, anyone can create a breathtaking illustration that sparkles like the real thing. Whether you’re an art enthusiast or just someone looking to pick up a new skill, this guide will walk you through every step of the process.
Let’s be honest, pearls are timeless classics. They’ve been adorning queens, celebrities, and everyday folks for centuries. But did you know that drawing a pearl can be just as captivating as wearing one? The beauty of creating art lies in its simplicity and elegance, and pearls embody both qualities. So, if you’re ready to dive into the world of gemstone illustrations, grab your pencils and let’s get started!
Now, before we jump into the nitty-gritty details, let me reassure you that this isn’t some complicated art lesson reserved for professionals. This guide is designed for everyone—from beginners to advanced artists. We’ll cover everything from basic shapes to advanced shading techniques, ensuring that by the end of this article, you’ll have the confidence to draw a pearl that rivals the finest jewelry pieces. Let’s make art, people!
Read also:Doneright Doner Kebab Reviews A Mouthwatering Journey Through The Best Kebab Experience
Why Drawing a Pearl is Worth Your Time
Let’s face it, pearls are more than just shiny rocks. They symbolize purity, elegance, and sophistication. And when it comes to drawing them, there’s something magical about capturing that lustrous glow on paper. Whether you’re creating a standalone piece or incorporating pearls into a larger artwork, mastering this skill can elevate your portfolio. Plus, who doesn’t love the satisfaction of creating something beautiful?
In today’s world, where digital art dominates, there’s still a charm in traditional pencil-and-paper techniques. Drawing a pearl allows you to explore textures, reflections, and light effects in ways that digital tools might not fully replicate. It’s like a mini science experiment where you get to play with light and shadow to create something truly unique.
Understanding the Anatomy of a Pearl
Before we put pencil to paper, it’s crucial to understand what makes a pearl so special. A pearl isn’t just a smooth, round object; it’s a complex gemstone with layers of nacre that reflect light in mesmerizing ways. Here’s a quick breakdown:
- Shape: Most pearls are round, but they can also be oval, baroque, or even asymmetrical.
- Surface: The surface of a pearl is smooth but not perfectly flawless. Look for subtle imperfections that add character.
- Reflection: Pearls have a unique iridescent sheen that makes them stand out. This is caused by the way light interacts with the nacre layers.
By understanding these elements, you’ll be better equipped to replicate their beauty in your drawings.
Basic Tools for Drawing a Pearl
You don’t need a fancy setup to draw a pearl. In fact, you probably already have everything you need lying around. Here’s a list of essential tools:
- Pencils (HB, 2B, 4B)
- Erasers (both kneaded and standard)
- Blending tools (tortillons or blending stumps)
- Smooth drawing paper
- Optional: Colored pencils or markers for added flair
Remember, the quality of your tools matters, but it’s not everything. Your technique and creativity play a much bigger role in creating stunning art.
Read also:Sigma Pi Secret Word Unlocking The Mysteries Behind The Brotherhood
Setting Up Your Workspace
Your workspace can make or break your art session. Find a comfortable spot with good lighting and minimal distractions. Arrange your tools within easy reach so you don’t have to interrupt your flow. And most importantly, grab a cup of coffee or tea—art is always better with caffeine!
Step-by-Step Guide to Drawing a Pearl
Now that we’ve covered the basics, let’s dive into the step-by-step process of drawing a pearl. Follow these steps carefully, and you’ll be amazed at how realistic your artwork turns out.
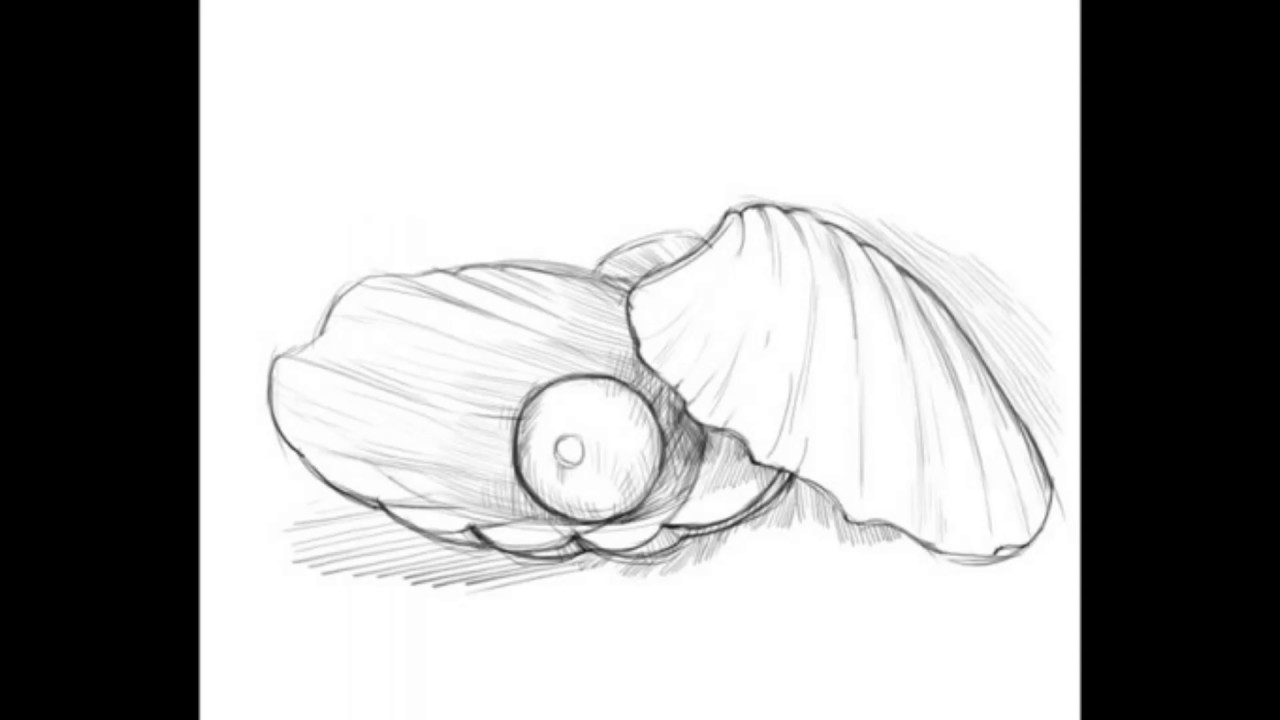
Step 1: Sketch the Basic Shape
Start by lightly sketching a circle. Don’t worry if it’s not perfect; you can refine it later. Think of this as the foundation of your pearl. Keep your lines light so they’re easy to erase if needed.
Step 2: Add the Highlight
Pearls are known for their shiny surface, so adding a highlight is crucial. Choose a spot on your circle where the light source would hit the pearl. Sketch a small oval or teardrop shape to represent this highlight. This will give your pearl that coveted glow.
Step 3: Define the Shadows
Shading is what brings your pearl to life. Identify the areas where shadows would naturally fall based on the light source. Use a softer pencil (like a 4B) to gently add shading around the edges of the pearl. Remember, the shading should be subtle and gradual, not harsh or abrupt.
Step 4: Refine the Surface Texture
Pearls aren’t perfectly smooth; they have a slightly bumpy texture. Use a fine pencil to add tiny imperfections on the surface. These details will make your pearl look more realistic and less like a glass ball.
Step 5: Blend and Smooth
Once you’ve added all the layers, use a blending tool to smooth out the transitions between light and shadow. This will give your pearl a polished, professional look. Take your time with this step—it’s what separates a good drawing from a great one.
Tips and Tricks for Perfecting Your Pearl
Here are a few insider tips to help you take your pearl drawings to the next level:
- Study Real Pearls: Look at photos or actual pearls to observe how light interacts with their surface. This will give you a better understanding of how to replicate it in your art.
- Experiment with Light Sources: Try drawing pearls with different light sources to see how it affects the highlights and shadows.
- Practice Patience: Drawing realistic pearls takes time and practice. Don’t get discouraged if your first attempts don’t turn out perfectly.
Common Mistakes to Avoid
Even the best artists make mistakes. Here are a few pitfalls to watch out for:
- Over-shading: Too much shading can make your pearl look flat instead of shiny.
- Ignoring Imperfections: Perfectly smooth pearls look unnatural. Embrace the little bumps and flaws.
- Forgetting the Highlight: A pearl without a highlight is like a cake without frosting—it’s just not the same.
Advanced Techniques for Drawing Pearls
Once you’ve mastered the basics, it’s time to level up your skills. Here are some advanced techniques to try:
1. Layering
Instead of applying one layer of shading, build up multiple layers to create depth and dimension. This technique works especially well for capturing the iridescent glow of pearls.
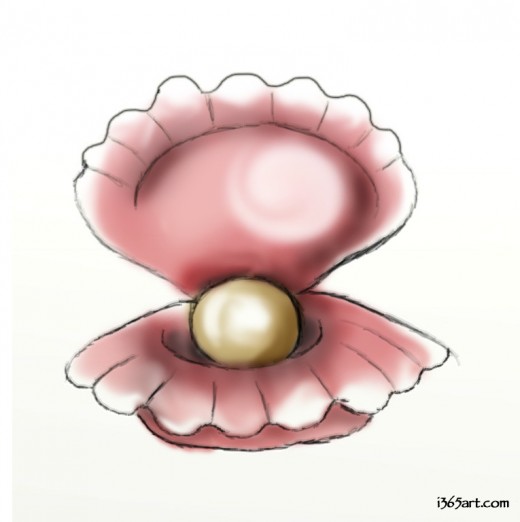
2. Color Experimentation
While traditional pearls are white, they can also come in shades of pink, gray, and black. Experiment with colored pencils or markers to add a pop of color to your drawings.
3. Incorporating Surroundings
Pearls rarely exist in isolation. Try drawing them alongside other gemstones, in a necklace, or even on a person. This adds context and makes your artwork more interesting.
Real-Life Applications of Drawing Pearls
Learning how to draw a pearl isn’t just a fun hobby—it can also open doors to real-life opportunities. Here are a few examples:
- Jewelry Design: If you’re interested in fashion, drawing pearls can be a valuable skill for designing jewelry.
- Illustration: Many illustrators incorporate pearls into their work, whether it’s for book covers, advertisements, or editorial pieces.
- Art Therapy: Drawing pearls can be a calming and meditative activity, perfect for reducing stress and improving focus.
Success Stories from Artists
Take inspiration from artists who have made a name for themselves by mastering pearl illustrations. From fashion designers to digital artists, there’s a whole community of creatives out there who share your passion.
Conclusion: Your Turn to Shine
And there you have it—a comprehensive guide to drawing a pearl that shines brighter than any other. Remember, art is all about practice and perseverance. Don’t be afraid to experiment, make mistakes, and most importantly, have fun!
Now it’s your turn to grab those pencils and start creating. Share your artwork with the world, and don’t forget to leave a comment below letting us know how it went. Who knows? Your pearl drawing might just inspire someone else to pick up a pencil and join the art journey!
Table of Contents