So you just rocked out at Lollapalooza, and now you're stuck with this wristband that's basically glued to your arm. But hey, don’t panic—there’s a way to remove it without turning your skin into a wrestling ring. In this guide, we’ll walk you through how to take off Lollapalooza wristbands like a pro, so you can keep that festival vibe alive without any scars.
First things first, let’s talk about why this little plastic bracelet is such a beast. Festival wristbands are designed to be secure, which means they’re not exactly made for easy removal. But fear not, because with the right technique, you can slip it off without losing your mind or damaging your skin. Stick around, and we’ll show you how.
Whether you want to preserve the wristband as a keepsake or just need it off ASAP, this guide will cover everything you need to know. Let’s dive in and save your festival memories—and your arm—from disaster.
Read also:Exploring The Delicious World Of Bagels In Germany
Table of Contents
- What is the Lollapalooza Wristband?
- Why Are Lollapalooza Wristbands So Hard to Remove?
- Tools You’ll Need to Remove the Wristband
- Step-by-Step Guide to Remove the Wristband
- Tips for Safe Removal
- What to Do If It Still Won’t Come Off
- How to Preserve Your Lollapalooza Wristband
- Common Mistakes to Avoid
- Frequently Asked Questions
- Wrapping It All Up
What is the Lollapalooza Wristband?
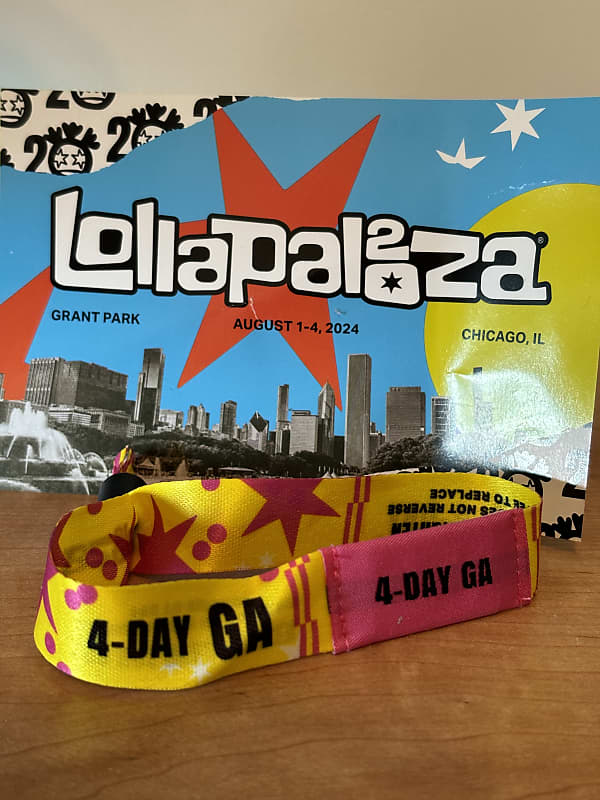
Lollapalooza wristbands are more than just accessories; they’re your VIP pass to one of the biggest music festivals in the world. These bands are designed to be tamper-proof, meaning once they’re on, they’re supposed to stay on until the festival ends. But what happens when the festival is over, and you’re ready to move on? That’s where the struggle begins.
These wristbands are typically made of durable plastic and are secured with a locking mechanism that’s nearly impossible to undo without some know-how. So, if you’re thinking about just yanking it off, think again—you might end up with a nasty bruise or even a torn piece of skin.
Why Are Wristbands So Important?
Wristbands at festivals like Lollapalooza serve a dual purpose. First, they ensure that only ticket holders can enter the venue. Second, they act as a security measure to prevent people from sneaking in without paying. But once the festival is over, these bands become more of a souvenir than a necessity.
Why Are Lollapapalooza Wristbands So Hard to Remove?
Let’s face it, wristbands are designed to be tough. The locking mechanism is meant to prevent tampering, and that’s exactly why they’re so tricky to take off. Here are a few reasons why these bands are a real pain:
- Tight Fit: The bands are usually tightened to the point where they’re snug against your skin, making it harder to slip them off.
- Durable Material: They’re made from a type of plastic that’s built to last, which means it won’t break easily.
- Security Features: The locking mechanism is designed to prevent removal without causing damage to the band or your skin.
Now that we’ve established why they’re so challenging, let’s move on to the solutions.
Tools You’ll Need to Remove the Wristband
Before you start hacking away at your wristband, gather a few essential tools. You don’t need anything fancy—just a few household items will do the trick.
Read also:Shane Harper Gf The Inside Scoop On Love Fame And Relationships
What You’ll Need:
- Cuticle Scissors: These are small and precise, perfect for cutting the band without hurting yourself.
- Plastic Card: A hotel key card or any thin plastic card will work great for loosening the band.
- Soap and Water: This combo can help reduce friction and make the band easier to slide off.
- Hairdryer: Heat can sometimes soften the plastic, making it more flexible.
Once you’ve got your tools ready, it’s time to put them to use.
Step-by-Step Guide to Remove the Wristband
Now that you’re all set, let’s go through the process step by step. Follow these instructions carefully to avoid any unnecessary pain or damage.
Step 1: Loosen the Band
Start by using the plastic card to gently slide between the band and your skin. This will help create some space and loosen the grip of the band.
Step 2: Apply Soap and Water
Wash your hands with soap and water, then rub the band to create a slippery surface. This reduces friction and makes it easier to slide the band off.
Step 3: Use the Hairdryer
Hold the hairdryer on low heat and direct it towards the band for a few seconds. The heat will soften the plastic, allowing it to become more flexible.
Step 4: Cut the Band
If the band is still too tight, use the cuticle scissors to carefully snip the locking mechanism. Make sure to cut away from your skin to avoid any accidents.
And there you have it—your wristband should now be free from your arm. Easy peasy, right?
Tips for Safe Removal
Here are a few extra tips to ensure a safe and painless removal process:
- Take Your Time: Rushing can lead to mistakes, so be patient and work slowly.
- Test the Tools: Before using scissors or a card, test them on a similar material to ensure they won’t cause harm.
- Stay Hydrated: Drink plenty of water to keep your skin soft and supple, which can help with the removal process.
What to Do If It Still Won’t Come Off
Let’s say you’ve tried everything, and that wristband is still stuck like glue. Don’t worry—there are a few more options you can try:
Visit a Professional
If all else fails, head to a local pharmacy or urgent care center. They’ve likely dealt with similar situations and can help you remove the band safely.
Use Lubricants
Products like petroleum jelly or baby oil can provide extra lubrication, making it easier to slide the band off.
How to Preserve Your Lollapalooza Wristband
Once you’ve successfully removed the wristband, you might want to keep it as a memento. Here’s how you can preserve it:
- Seal It: Place the band in a small plastic bag or container to protect it from dust and moisture.
- Display It: Frame the wristband or mount it on a board to create a cool piece of art.
- DIY Projects: Use the band in craft projects, like creating a keychain or bracelet.
Preserving your wristband is a great way to keep the festival memories alive long after the event is over.
Common Mistakes to Avoid
Here are a few mistakes people often make when trying to remove their wristbands:
- Pulling Too Hard: Yanking the band off can cause injury or damage the band.
- Using Sharp Objects: Knives or razor blades can be dangerous and should be avoided.
- Not Preparing Properly: Skipping the soap and water step can make the process much harder.
Avoid these pitfalls, and you’ll have a much smoother removal experience.
Frequently Asked Questions
Can I reuse the wristband for future festivals?
Unfortunately, no. Lollapalooza wristbands are designed for single use and cannot be reused for future events.
Will removing the wristband damage my skin?
Not if you follow the proper steps. Using gentle techniques and avoiding force will help prevent any skin irritation.
Can I sell my wristband after the festival?
It’s unlikely anyone would want to buy a used wristband, but if you do decide to sell it, make sure it’s in good condition.
Wrapping It All Up
Removing a Lollapalooza wristband might seem like a daunting task, but with the right tools and techniques, it’s totally doable. Remember to stay calm, take your time, and follow the steps carefully. Whether you’re keeping the band as a keepsake or just trying to get it off your arm, this guide has got you covered.
Now that you’ve learned how to take off Lollapalooza wristbands like a pro, share your experience with us in the comments below. And if you found this article helpful, don’t forget to share it with your fellow festival-goers!