Ever wondered how to draw a skunk that looks both adorable and realistic? Well, you're in the right place! Drawing a skunk, or as some might say, "como dibujar un zorrillo," isn't as tricky as it seems. Whether you're a seasoned artist or just picking up a pencil for the first time, this guide will walk you through every step. Get ready to unleash your inner Picasso, but with a furry twist!
You might be thinking, "Why skunks?" Well, let's face it—these little black-and-white critters have a certain charm that's hard to resist. Plus, they're a great subject for practicing contrast and shading techniques. Think of it like a mini-challenge that'll level up your drawing skills in no time.
Now, before we dive into the nitty-gritty, let's set the mood. Grab your favorite sketchbook, a couple of pencils, and maybe a cup of coffee. This isn't just about drawing a skunk—it's about creating something that makes you proud. So, are you ready to get started? Let's go!
Read also:Justin Han Girlfriend The Inside Scoop Youve Been Waiting For
Understanding the Basics of Drawing a Skunk
Before we put pencil to paper, it's essential to understand the anatomy of a skunk. Knowing how their body works will make your drawing look more realistic and dynamic. Think of it as building a strong foundation for your artwork.
Step 1: Study the Structure
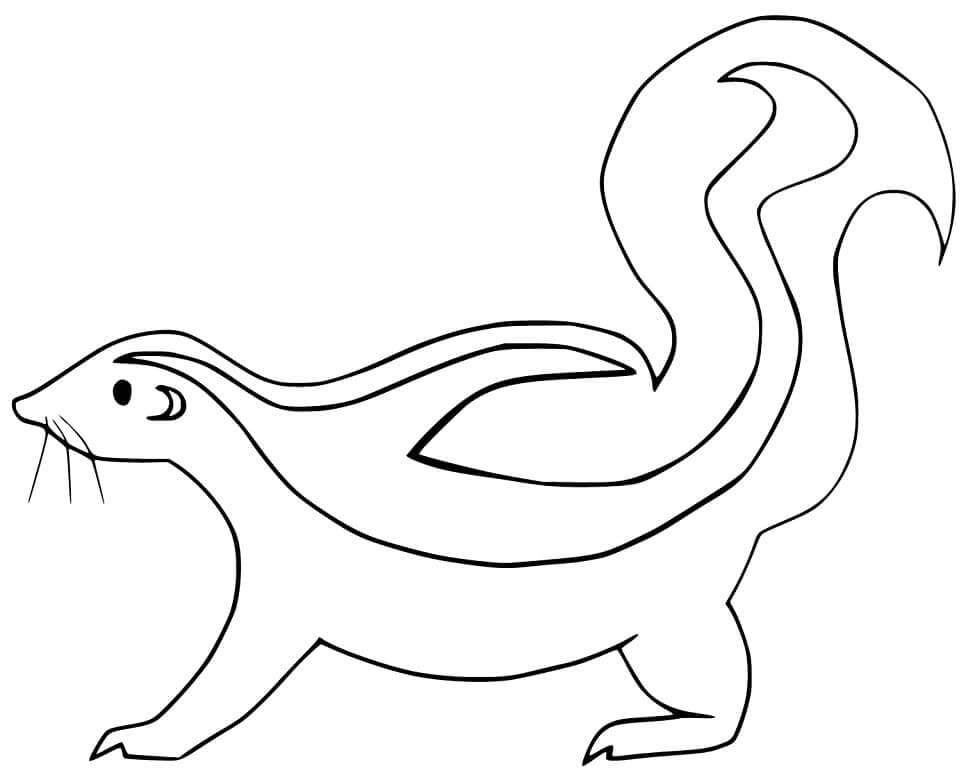
Skunks have a distinct body shape—round, fluffy, and compact. Their tails are often bushy and can be as long as their bodies. Start by sketching basic shapes like circles and ovals to represent the head and body. This will help you establish the proportions early on.
- Draw a small circle for the head.
- Add a larger oval for the body, slightly tilted if you want your skunk in motion.
- Include a long, curved shape for the tail.
Step 2: Focus on the Details
Once you've got the basic structure down, it's time to add the details that make a skunk, well, a skunk. Pay attention to their facial features, particularly those striking white stripes that run down their backs.
Here's a quick checklist to keep in mind:
- Eyes: Small and round, usually black.
- Nose: Tiny and triangular.
- Stripes: Start from the forehead and split into two lines down the back.
Choosing the Right Tools for Your Art
Having the right tools can make all the difference in your drawing journey. Let's break down what you'll need to create a stunning skunk masterpiece.
Pencils and Sketchbooks
Start with a good set of graphite pencils. A range of hardness levels (2H to 6B) will give you the versatility to create both light and dark tones. As for sketchbooks, go for one with thick, high-quality paper that can handle multiple layers of shading.
Read also:How To Write Ldquoto Godrdquo In English A Comprehensive Guide
Optional Tools
While not necessary, these tools can enhance your artwork:
- Blending stumps for smoother shading.
- Erasers, both kneaded and standard, for correcting mistakes.
- Colored pencils or markers if you want to add a pop of color.
Step-by-Step Guide to Drawing a Skunk
Now that you're equipped with knowledge and tools, let's dive into the step-by-step process of drawing a skunk. This section will guide you through each stage, ensuring your artwork turns out amazing.
Step 1: Sketch the Outline
Begin by lightly sketching the basic shapes we discussed earlier. Don't worry about perfection at this stage—think of it as a rough blueprint for your final drawing.
Step 2: Add the Details
Once your outline is in place, start adding the defining features of a skunk. Focus on the stripes, facial features, and the texture of their fur. Take your time with this part—it's where your skunk starts to come to life.
Step 3: Shade and Texture
Shading is what gives your drawing depth and realism. Use a range of pencil grades to create smooth transitions from light to dark. For the fur, try using short, light strokes to mimic its natural texture.
Tips and Tricks for Perfecting Your Skunk Drawing
Here are a few tips to help you take your skunk drawing to the next level:
- Study real skunk photos to understand their anatomy better.
- Experiment with different shading techniques to find what works best for you.
- Don't be afraid to make mistakes—they're part of the learning process!
Common Mistakes to Avoid
Even the best artists make mistakes sometimes. Here are a few common pitfalls to watch out for:
- Over-shading: Too much shading can make your drawing look muddy.
- Ignoring proportions: Make sure your skunk's body parts are in proportion to each other.
- Forgetting the details: Those little stripes and facial features are what make a skunk unique.
Exploring Different Styles
Once you've mastered the basics, why not experiment with different styles? From cartoonish to hyper-realistic, there's no limit to how you can interpret a skunk in your art.
Cartoon Skunks
Cartoon skunks are all about exaggeration. Think big eyes, playful expressions, and simplified shapes. This style is perfect if you want to add a touch of fun to your artwork.
Realistic Skunks
For those who love a challenge, try creating a hyper-realistic skunk drawing. Focus on capturing every detail, from the texture of their fur to the subtle shading in their eyes.
Resources and References
When it comes to drawing, having good references is crucial. Here are a few resources you might find helpful:
The Importance of Practice
Like any skill, drawing takes practice. The more you draw, the better you'll get. Set aside some time each day to work on your skunk drawings, and you'll see improvement in no time.
Conclusion: Your Journey to Becoming a Skunk Art Expert
And there you have it—everything you need to know to draw a skunk like a pro. Remember, art is a journey, not a destination. Keep practicing, experimenting, and most importantly, having fun!
So, what are you waiting for? Grab your pencils and start drawing. And don't forget to share your creations with the world. Who knows, you might just inspire someone else to pick up a pencil and try drawing a skunk too!
Table of Contents: