Listen up, food lovers! If you're into Latin American cuisine and want to dive into the rich world of Nicaraguan cheese, you're in for a treat. Making Nicaraguan queso fresco at home might sound intimidating, but trust me, it's easier than you think. This homemade cheese has that perfect balance of creamy, salty, and tangy that'll make your tacos, pupusas, or gallo pinto pop with flavor. Let's get started!
Now, before we dive into the nitty-gritty of how to make Nicaraguan queso fresco, let me tell you why this cheese is such a big deal. It’s not just any cheese—it’s a staple in Nicaraguan kitchens, served with almost every meal. Whether it’s crumbled over a plate of nacatamales or paired with fresh tortillas, this cheese is a game-changer.
What makes Nicaraguan queso fresco unique? Well, it’s all about the simplicity of ingredients and the love that goes into making it. Unlike some fancy cheeses that require special equipment, this one can be made right in your kitchen with stuff you probably already have. So, let’s break it down and turn your kitchen into a mini Nicaraguan cheese factory!
Read also:Batman And Joker Kissing A Deep Dive Into The Dark Knights Complex Relationship
Table of Contents
- The History of Nicaraguan Queso Fresco
- Ingredients You'll Need
- Tools and Equipment
- Step-by-Step Process
- Tips for Success
- Variations and Recipes
- How to Store Your Cheese
- Common Issues and Fixes
- Health Benefits of Homemade Cheese
- Conclusion
The History of Nicaraguan Queso Fresco
Let’s rewind a bit and talk about where this delicious cheese comes from. Nicaraguan queso fresco has deep roots in the country’s agricultural history. For generations, farmers have been crafting this cheese using traditional methods passed down through families. It’s a reflection of Nicaragua’s rich dairy culture, where cows, goats, and even water buffalo contribute to the cheese-making process.
This cheese isn’t just about taste—it’s also about community. In many rural areas, making queso fresco is a communal activity, bringing people together to share stories and bond over food. The process might have evolved a bit over the years, but the core tradition remains the same.
Why Nicaraguan Cheese Stands Out
There are so many types of cheeses out there, but what makes Nicaraguan queso fresco special? For starters, it’s incredibly versatile. You can use it in savory dishes, desserts, or even as a snack on its own. Plus, it has a texture that’s both firm and crumbly, which makes it perfect for melting or crumbling.
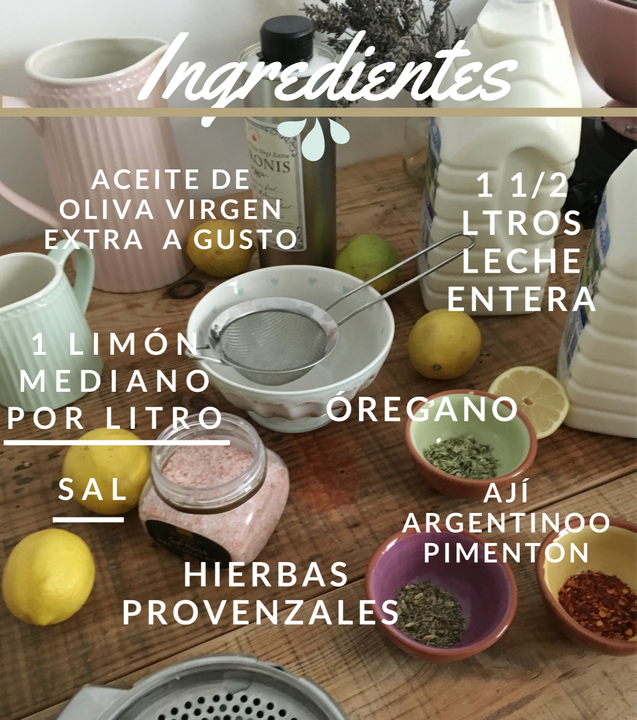
Ingredients You'll Need
Alright, let’s get to the good stuff. To make Nicaraguan queso fresco, you’ll need a few key ingredients. Don’t worry, you don’t need anything exotic—just basic dairy products and a couple of pantry staples.
- Whole milk (preferably raw, but pasteurized works too)
- Vinegar or lemon juice (for coagulation)
- Salt (to taste)
- Optional: rennet (for a firmer texture)
Pro tip: If you can get your hands on raw milk, it’ll give your cheese a richer flavor. But if not, pasteurized milk works just fine. Just avoid ultra-pasteurized milk, as it doesn’t coagulate as well.
Tools and Equipment
You don’t need a fancy setup to make cheese at home. Here’s what you’ll need:
Read also:Aynarilla Age The Rising Star You Need To Know About
- A large pot (stainless steel or enamel works best)
- A thermometer (to monitor the milk’s temperature)
- A slotted spoon (for scooping curds)
- A colander (for draining the curds)
- Cheesecloth (to line the colander)
- A weight (optional, for pressing the cheese)
Most of these items are probably already in your kitchen. If not, they’re easy to find at any kitchen supply store or online.
Step-by-Step Process
Now that you’ve got your ingredients and tools ready, let’s walk through the process of making Nicaraguan queso fresco. It’s super straightforward, and you’ll be amazed at how easy it is to make cheese from scratch.
Step 1: Heat the Milk
Pour your milk into the pot and heat it over medium-low heat. Keep an eye on the temperature—ideally, you want it to reach around 85°F to 90°F (29°C to 32°C). Use your thermometer to monitor the temperature closely.
Step 2: Add the Coagulant
Once the milk is at the right temperature, slowly add the vinegar or lemon juice while gently stirring. You’ll start to see the curds forming almost immediately. The amount of coagulant you use will depend on the acidity of your milk, but a good starting point is 1/4 cup of vinegar or lemon juice per gallon of milk.
Step 3: Let It Rest
After adding the coagulant, let the mixture sit undisturbed for about 10 to 15 minutes. This allows the curds to fully form and separate from the whey. Don’t rush this step—it’s crucial for getting the right texture.
Step 4: Scoop the Curds
Using your slotted spoon, gently scoop the curds out of the pot and transfer them to the colander lined with cheesecloth. Let the whey drain off for a few minutes. If you want a firmer cheese, you can press the curds lightly with a weight.
Step 5: Season and Shape
Once the curds have drained sufficiently, sprinkle some salt over them and mix gently. You can also add other seasonings if you like, like herbs or spices. Shape the cheese into a ball or a block, depending on your preference.
Tips for Success
Making cheese is part science, part art. Here are a few tips to help you get the best results:
- Use fresh ingredients for the best flavor.
- Don’t rush the process—let the curds form naturally.
- Experiment with different coagulants to find your favorite flavor profile.
- If your cheese turns out too crumbly, try using less vinegar or lemon juice next time.
Remember, practice makes perfect. The more you make cheese, the better you’ll get at tweaking the process to suit your taste.
Variations and Recipes
Once you’ve mastered the basics of making Nicaraguan queso fresco, you can start experimenting with different variations. Here are a few ideas:
- Add fresh herbs like cilantro or oregano for a burst of flavor.
- Mix in some jalapeños for a spicy kick.
- Try using goat’s milk instead of cow’s milk for a tangier cheese.
And don’t forget to use your homemade cheese in recipes! It’s perfect for topping tacos, enchiladas, or even as a filling for empanadas.
How to Store Your Cheese
Now that you’ve made your cheese, how do you keep it fresh? Store it in an airtight container in the refrigerator for up to a week. If you want to preserve it longer, you can freeze it, though the texture might change slightly when thawed.
For a firmer cheese, you can also brine it for a few hours before storing. This not only enhances the flavor but also helps preserve the cheese longer.
Common Issues and Fixes
Even the best cheese-makers encounter problems sometimes. Here are a few common issues and how to fix them:
- Curds won’t form: Your milk might be too old or the coagulant isn’t strong enough. Try using fresher milk or more vinegar/lemon juice.
- Cheese is too salty: Use less salt next time or let the curds drain longer to remove excess whey.
- Cheese is too crumbly: Use less coagulant or let the curds rest longer before draining.
Don’t get discouraged if things don’t turn out perfectly the first time. Cheese-making is all about trial and error.
Health Benefits of Homemade Cheese
Homemade cheese isn’t just delicious—it’s also good for you! By making your own cheese, you control exactly what goes into it, avoiding unnecessary additives and preservatives. Plus, it’s a great source of calcium, protein, and probiotics if you use raw milk.
Just remember to enjoy it in moderation, as cheese can be high in fat and sodium. But hey, everything in moderation, right?
Conclusion
Making Nicaraguan queso fresco at home is a fun and rewarding experience. Not only do you get to enjoy delicious, fresh cheese, but you also get a glimpse into the rich culinary traditions of Nicaragua. Whether you’re a seasoned cheese-maker or a beginner, this recipe is sure to impress.
So, what are you waiting for? Grab your ingredients, fire up your stove, and start your cheese-making journey today. And don’t forget to share your creations with friends and family—they’ll love it!
Got questions or tips of your own? Drop a comment below and let’s keep the conversation going. Happy cheese-making, amigos!